
Getting started
1. Create your account
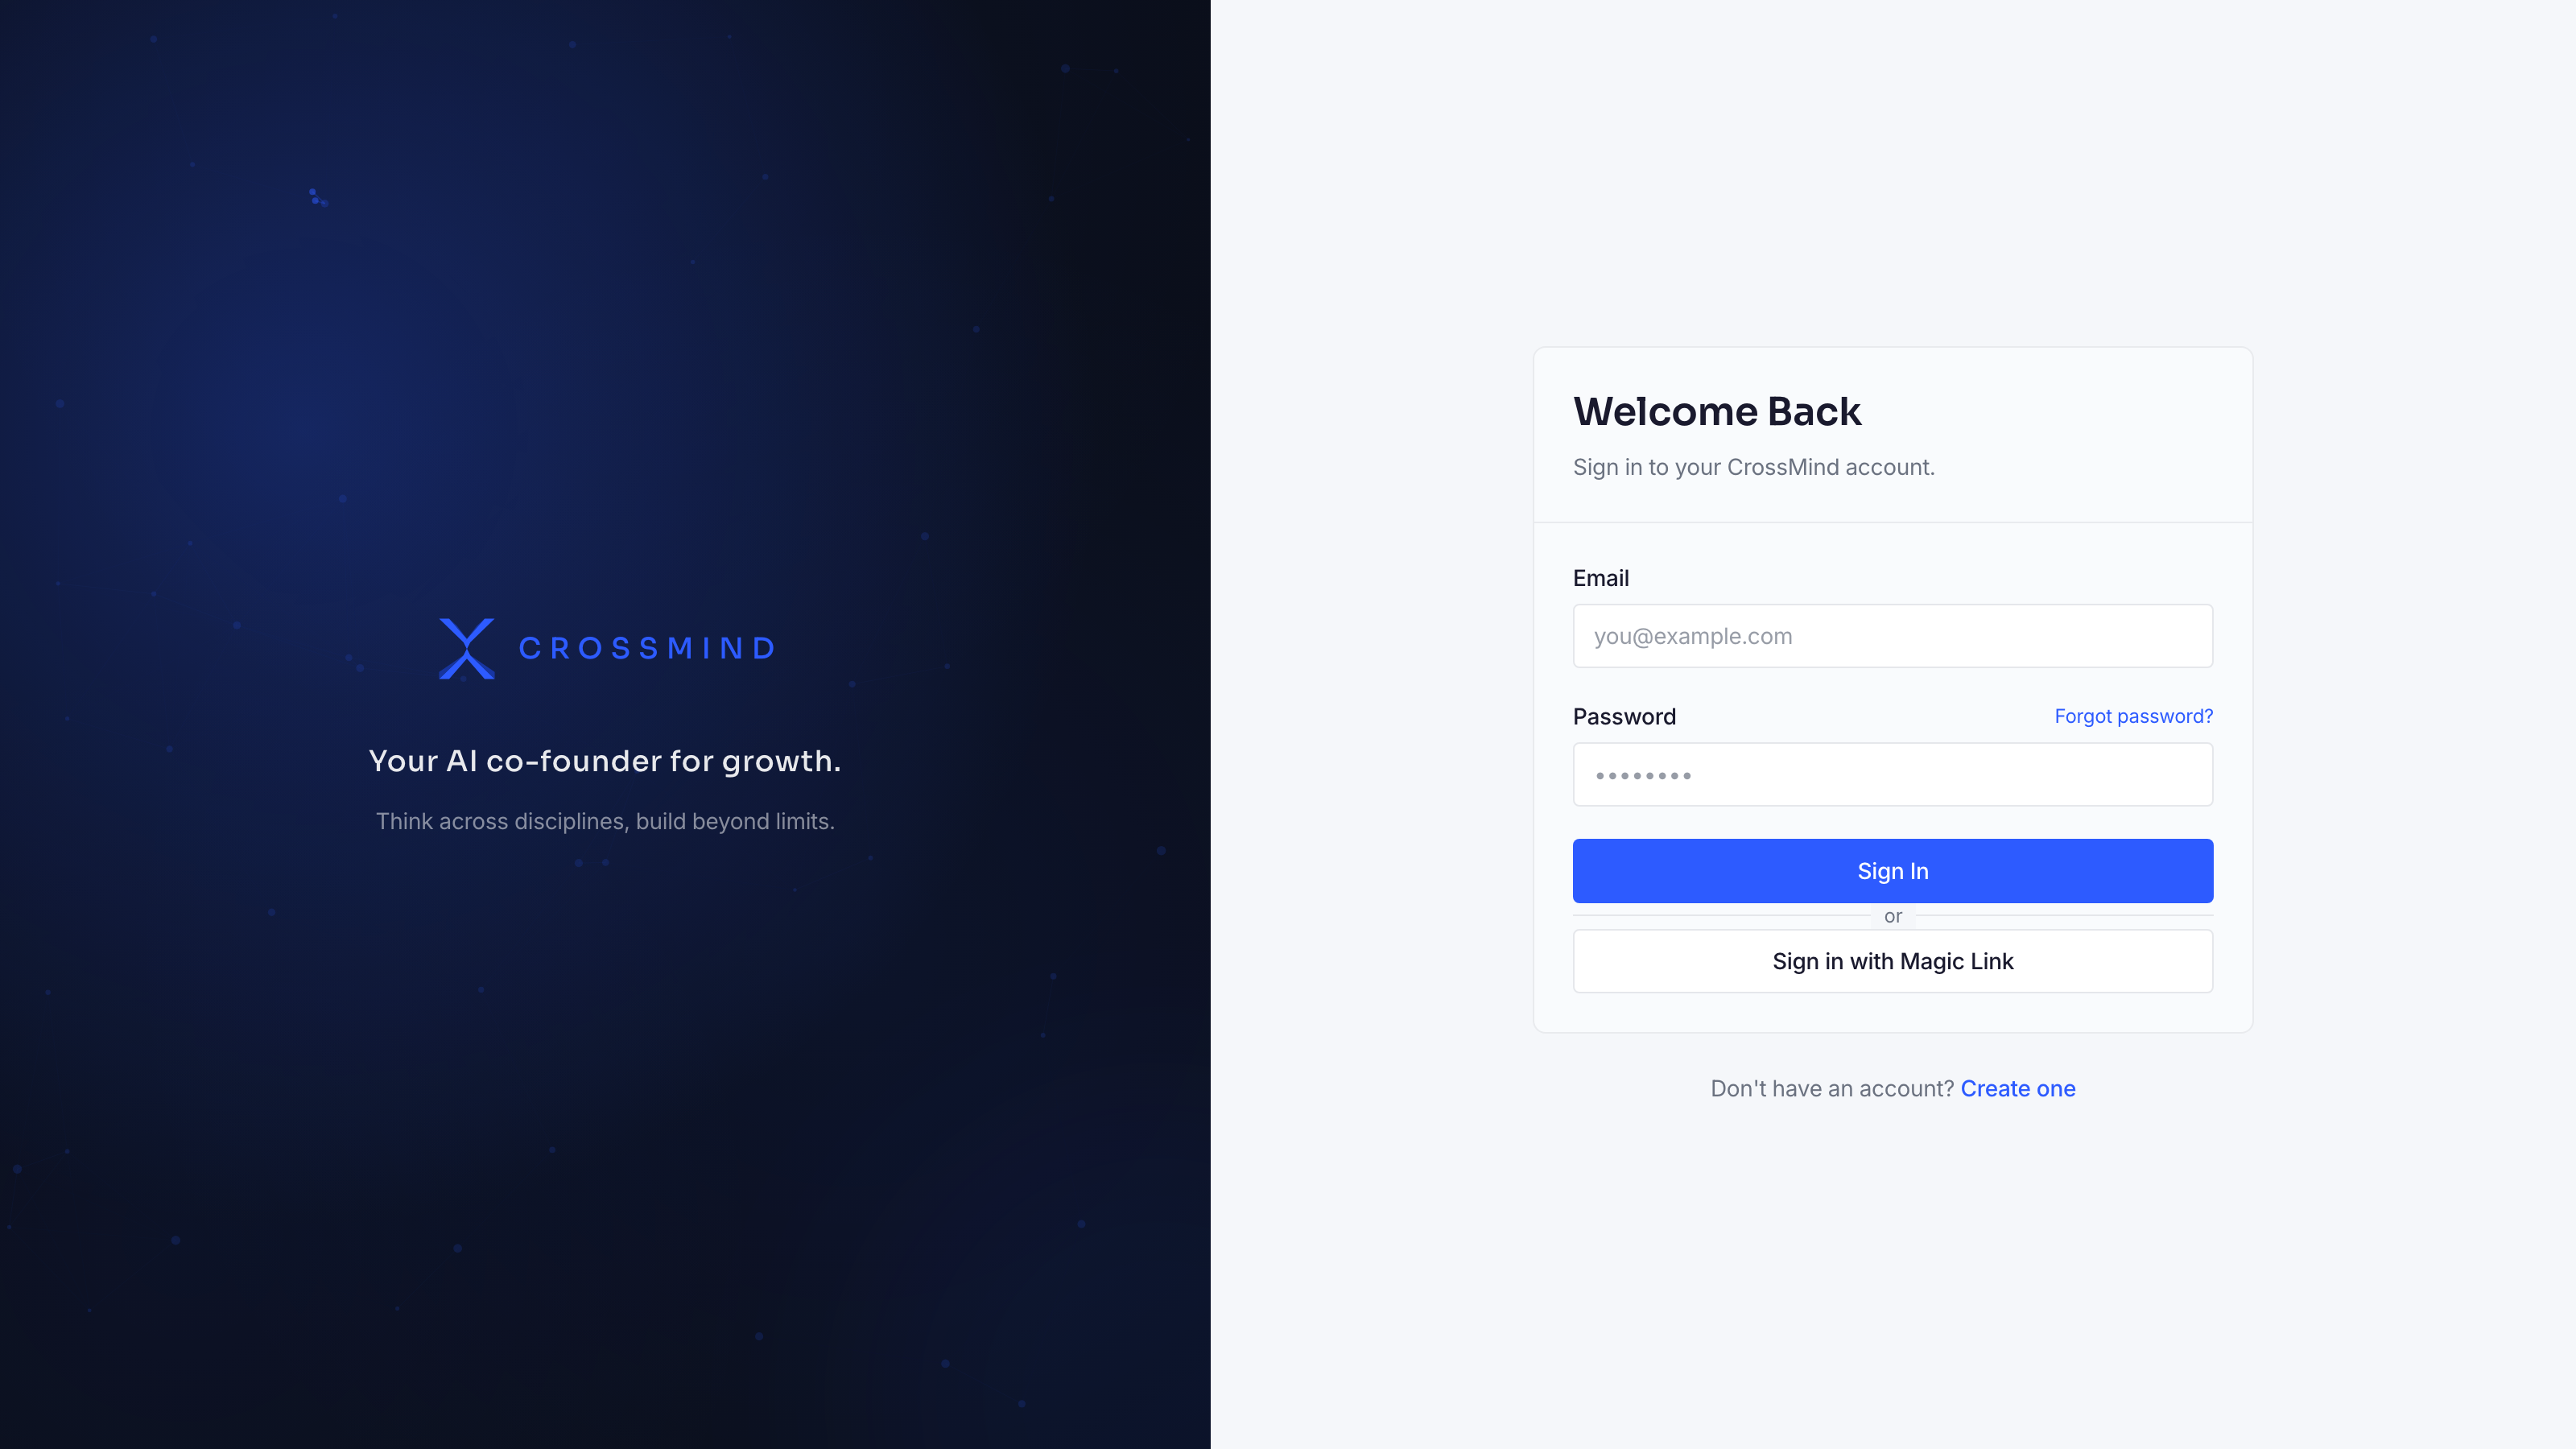
Section titled “1. Create your account”Open crossmind.io and pick Sign up. You can register with an email and password (or request a magic link). Signing up creates your personal workspace. Later you can create or join an organization and switch between them from the workspace menu.
2. Create your first agent
Section titled “2. Create your first agent”From Home → New Agent (or the sidebar’s “New Agent” button), the creation wizard walks you through naming the agent, describing its job, and picking its default model. You can fine-tune everything later in the agent’s Profile tab.
3. Start your first session
Section titled “3. Start your first session”Click New Session in the sidebar. Pick the agent (or a project), type what you want, and send. The composer’s target picker also lets you route the session to a specific runtime or adjust the thinking level.
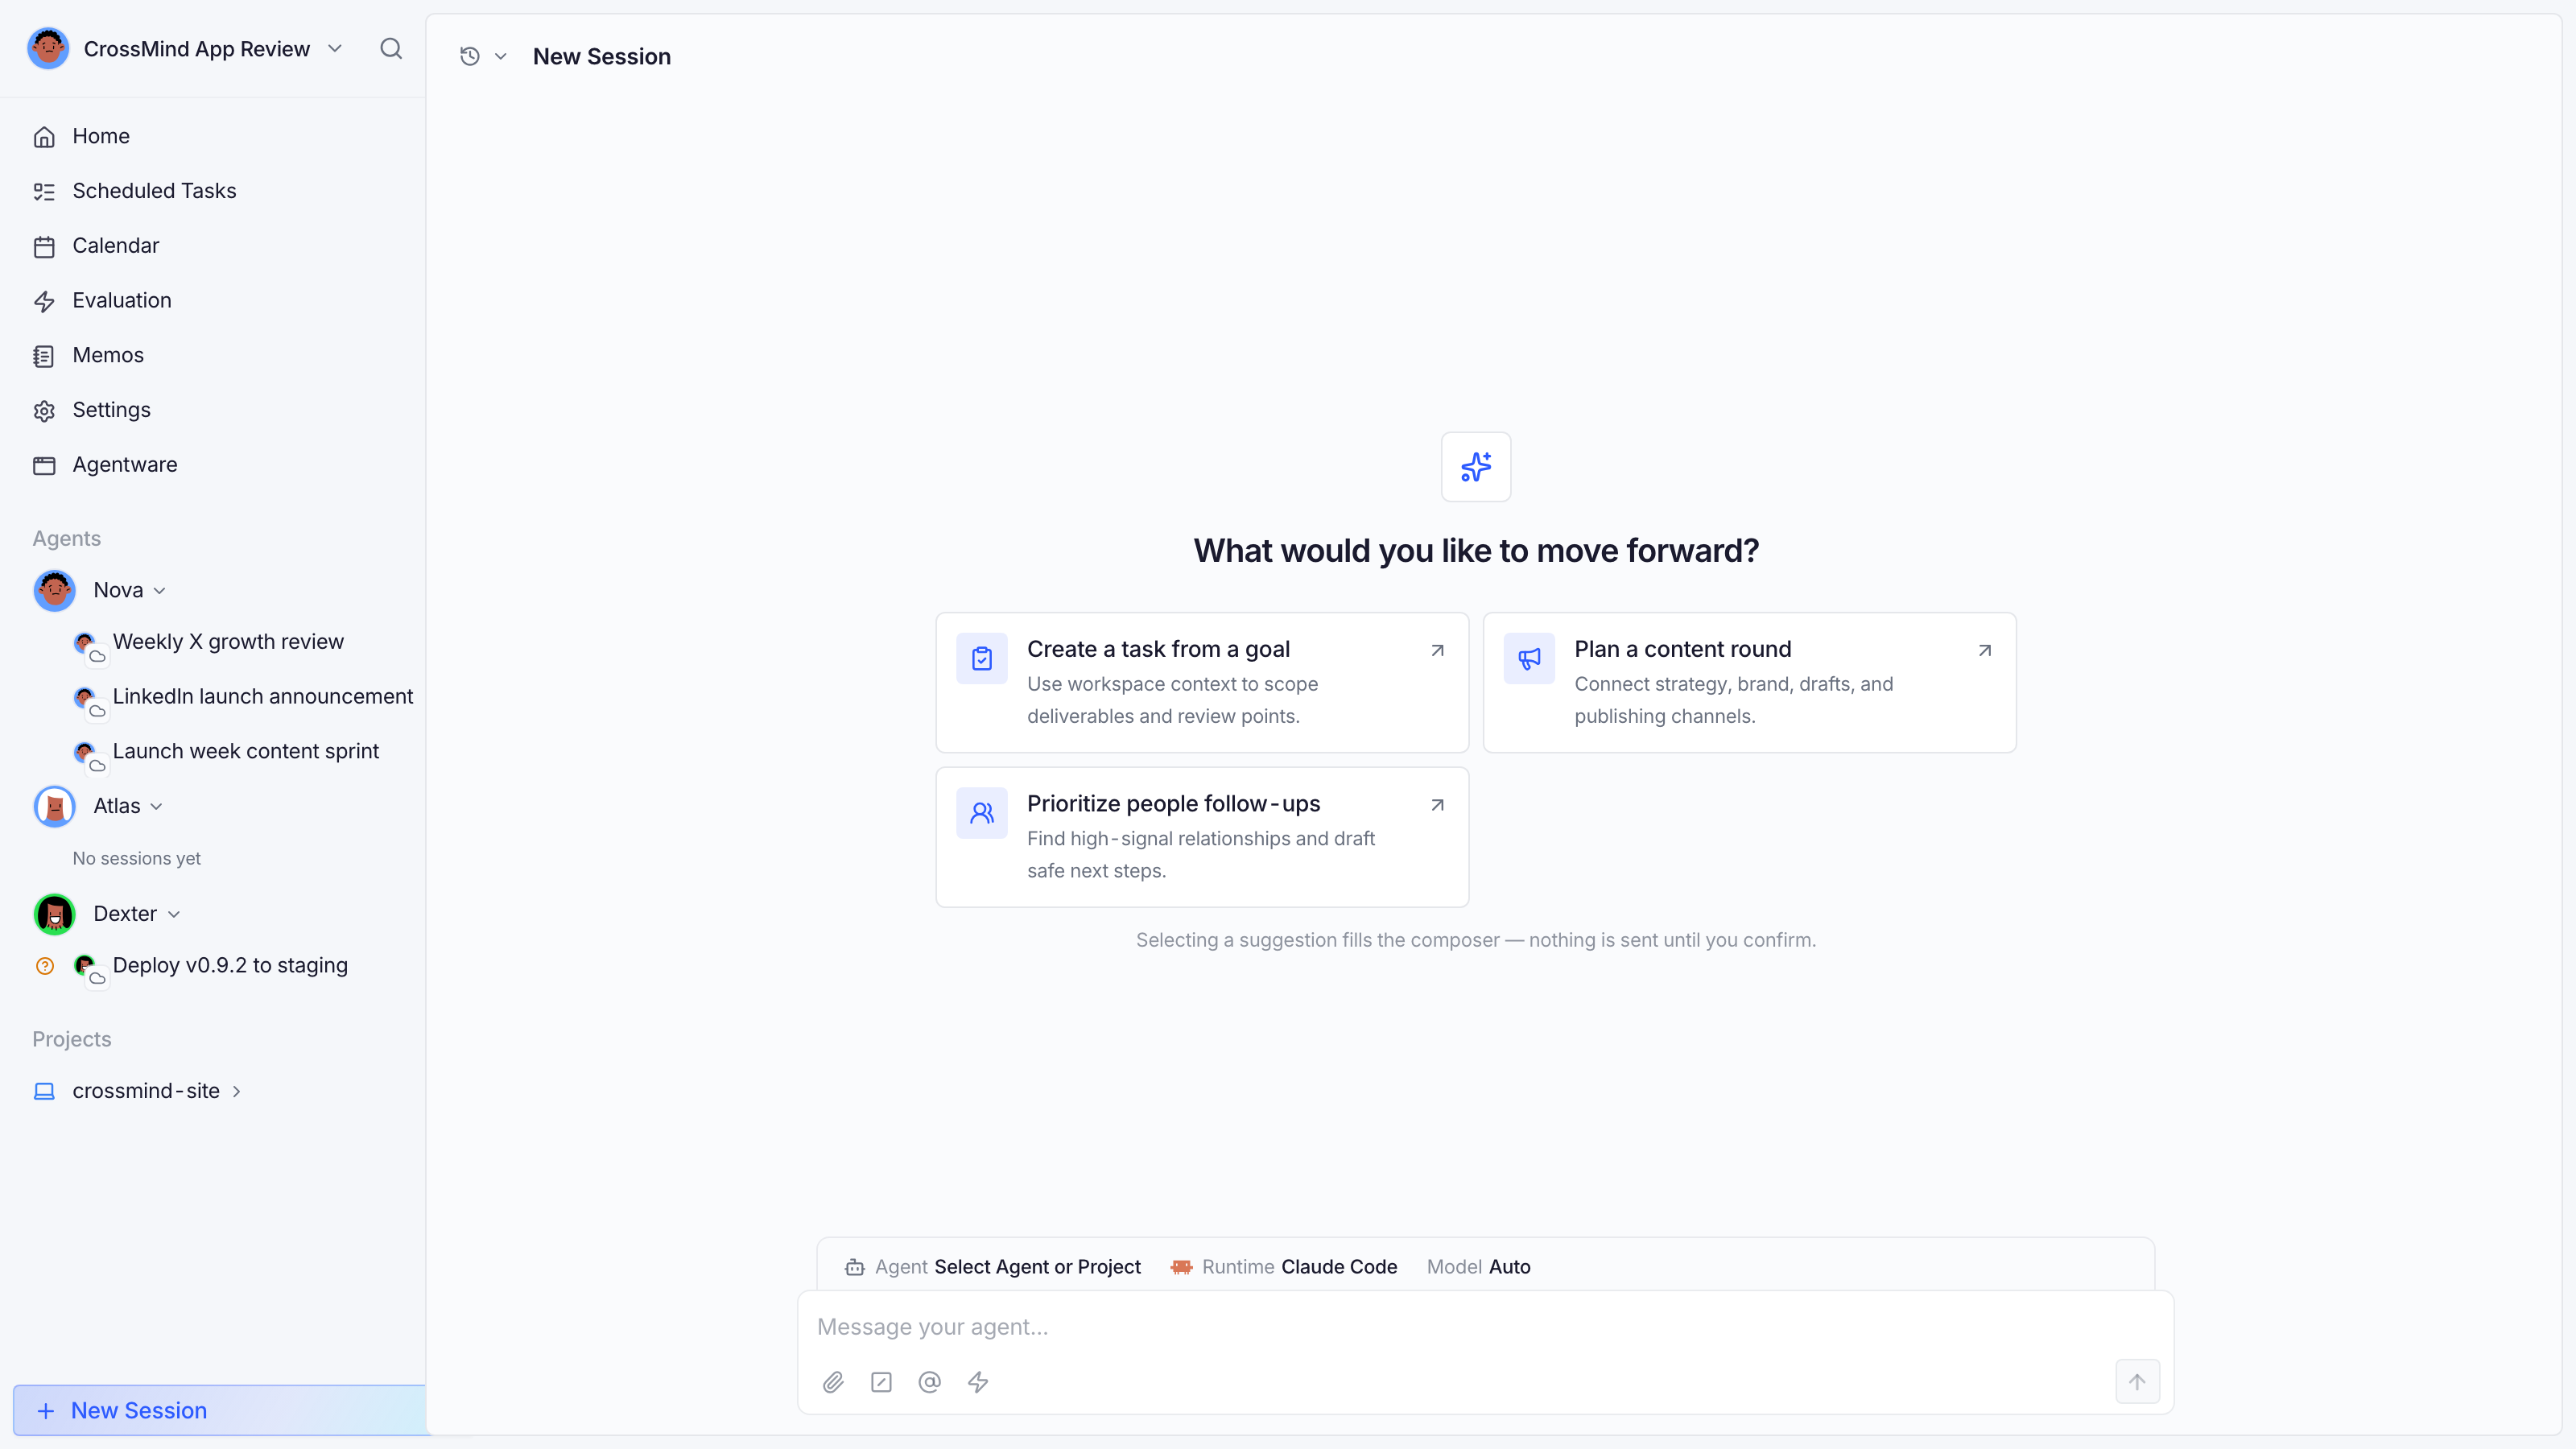
The session streams the agent’s work live: text, tool cards, and questions. If the agent needs a permission (say, running a shell command), an approval card pauses the run until you decide.
4. (Optional) Pair your computer
Section titled “4. (Optional) Pair your computer”To run sessions with your local CLIs and files, add your machine under Settings → Computers. One pairing code, one daemon install. See Computers.
5. (Optional) Automate it
Section titled “5. (Optional) Automate it”Once a prompt works, turn it into a scheduled task so the agent runs it every morning/week/interval without you.